
CD Player Kidnapping Saga
I helped a friend with fixing an old, 1990s-era1, CD player that belonged to his grandparents. But before we get into that, we need to talk about how I was convinced into helping him2. It all started quite ominously:

Translation: “Mr. Taha, I’m kidnapping you after English, you’ve been warned”, and my response was “what.” For context, our English literature class had just started when I received this DM from him. It was a few confusing seconds before I realized what he meant.
The more helpful piece of context came from another friend, let’s call him Nicolas, which ran the community bike repair shop whose workspace we were about to borrow for about 5 hours.

Translation: At 1:27 PM on Friday, “Are you in class right now?”, “Yes”, and at 1:42 PM, “Midadouille, Hadrien needs help.” [Friend #1] is the friend who sent those ominous messages. I have no idea what “Midadouille” is or where it came from.
Skipping to the part where we start working on it, we unscrew it, and find that everything is electronic except the part that pops out and reads the CD, which is connected to the rest using a bunch of connectors.
Using the tools at our disposal, we spend at least 30 minutes unplugging a few of these JST-style connectors, most of which were much more annoying because they had two bits that locked into their casing which we needed to kind of push out on the casing a bit to get them out.
We then took it out (which was pretty straightforward because we had access to the owner’s manual, which had so. much. information.)
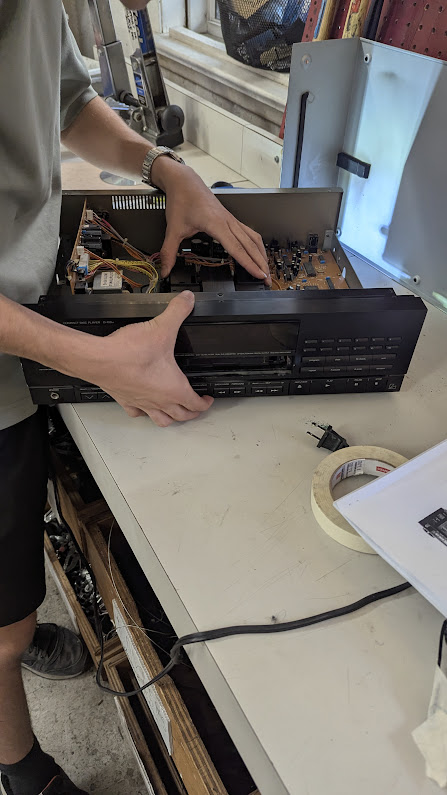
Taking off the front panel to access the CD reader, which my friend Hadrien is holding with his left hand.
The CD reader could be split into two parts, which exposed two rotating shafts, essentially two wheels, a lot more plastic, a spring which served to push up the CD when it was ejected so that it would be easier to take out3.
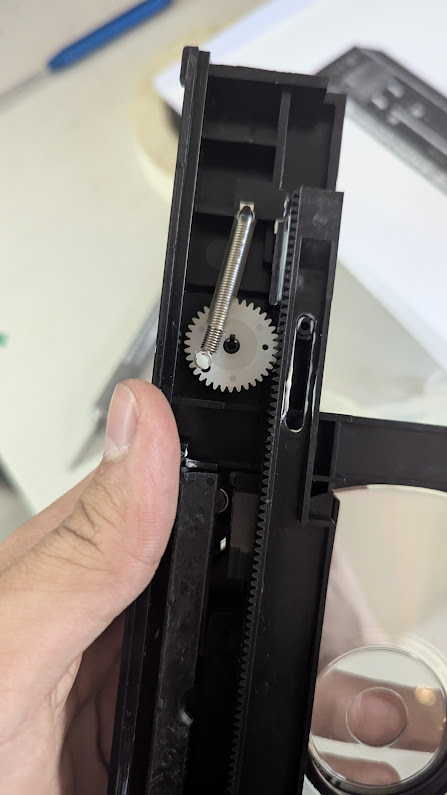
The spring system that pushed up the CD tray. We actually thought for a bit that it was a part of the problem, but turns out it was perfectly fine and working as intended.
It’s also important to note that we had a weirdly shaped piece4 and a bunch of strands of rubber loose inside the main case. We didn’t know what their use was. In fact, it took a lot of trial and error to get the weirdly shaped piece to fit somewhere, never mind finding where it was actually supposed to go.
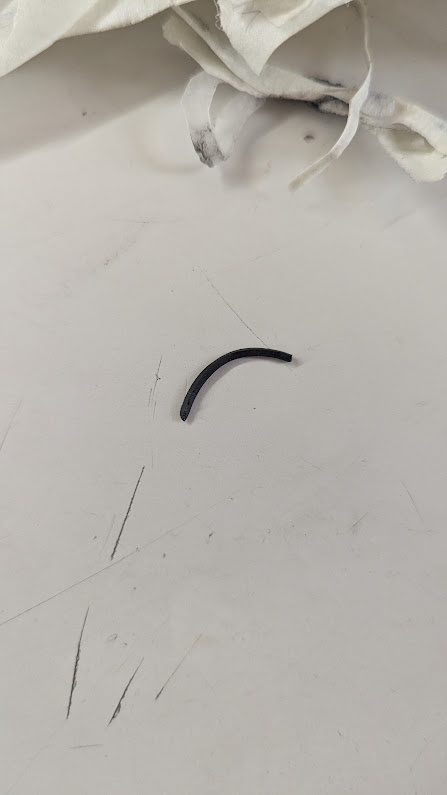
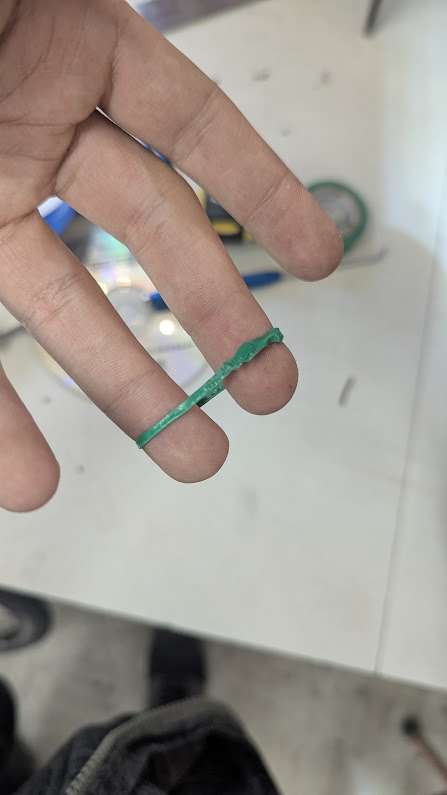
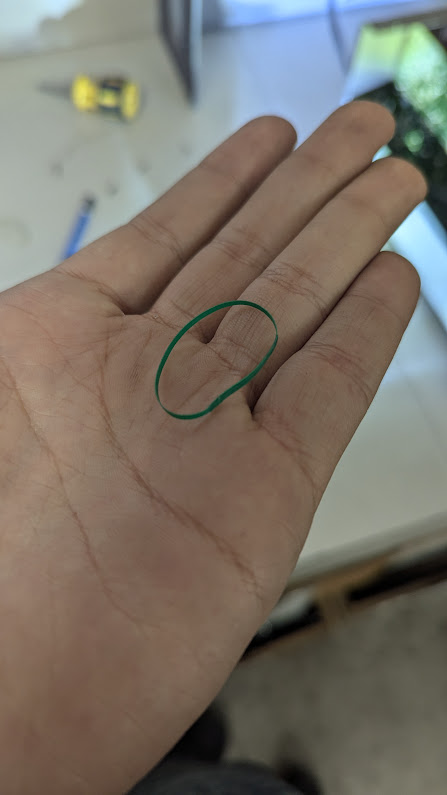
One of the rubber band pieces in question.
There were also two plastic wheels on the other piece of plastic. It took us embarrassingly long to figure out that the rubber band was supposed to link between them, but we eventually did. However, issue #1, we did not have any rubber bands that fit the specs. By using a piece of tape that I wrapped around them, I figured out that we needed something with a 10cm circumference and a 1-1.5mm diameter. And unfortunately they don’t have small specific rubber bands at a community bike repair station, I even went up to ask and the answer was still a no. :(
So I got crafting. I tried shrinking a really close rubber band that we somehow found at the corner of a desk by melting it with a hot glue gun (it didn’t work), using electrical tape (green in the image below), masking tape, even making one out of hot glue (this actually almost worked).
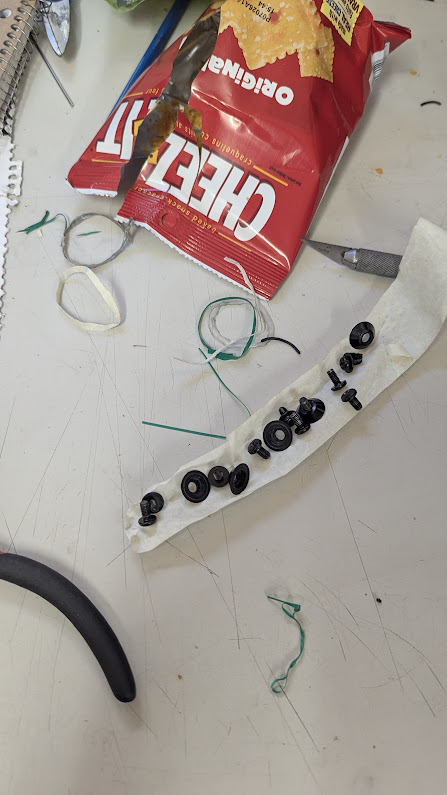
A bunch of our attempted solutions. The masking tape didn’t have enough friction, the hot glue band had deformities which made it jump out, but the electrical tape one was the closest to working.
After 7-8 attempts with the electrical tape, changing its thickness, length, and how I joined the two sides, we ended up with something that worked! Or at least well enough. I wouldn’t be able to guarantee more than 20 spins because its adhesive wasn’t strong enough, but it was a working PoC until we ordered an actual rubber band.
One of our attempts was munched up by a gear that was right next to the belt and pulley system where we installed it.
The holy grail, an almost perfect looking *fake* rubber band.
At the same time, we had to figure out where the weird looking piece went. And after a ton of trial and errors, we found where it fit, but we inserted it wrongly which ended up snapping off a piece of plastic. Once we installed it correctly we were able to use hot glue to mitigate that issue.
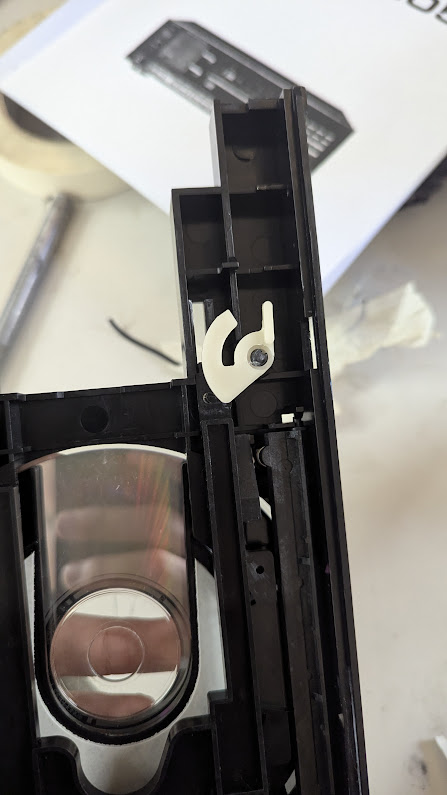
Weird looking piece in place (the one in beige), with some hot glue keeping it from falling off ever again.
After fixing these two items, even if some things on the CD reader weren’t working as expected (in fact, the CD tray raising mechanism was working in reverse), we decided to try it out, and the CD tray would pop out and raise the tray correctly! That said, it didn’t want to read the disk we were putting into it, so back to trial and error. It turns out that the laser disk reading head was stuck, so it just took a bit of wiggling to get it moving, and 🎉. We didn’t see any other issues, and the numbers on the LCD made it seem like the audio was playing.
So at least it seemed to work, because to actually hear the audio we needed to connect it to a pre-amp and then an amp, which we didn’t have on the spot, so my friend took it back home, and lo and behold.
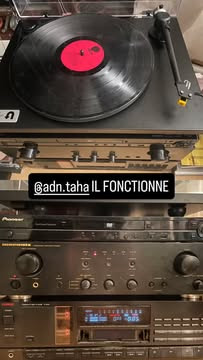
Translation: “@adn.taha IT WORKS.” The CD player is the item at the bottom of the stack of audio equipment, the one with the LCD display.
All that’s left is to order an actual 1mm diameter 10cm circumference rubber loop, so if you know where to get something like that, please contact me!
-
According to him. According to this source that I found, it was made in February of 1989, which is basically the 1990s, so he’s right and we should never doubt our friends. It’s a Luxman D-105U. ↩
-
Spoiler alert, it didn’t take much convincing. ↩
-
The type of feature built into luxury items that’s a pain to fix. Luxury cars also do this, which is why mechanics dislike working on them. ↩
-
If you think about it, all mechanical pieces are “weirdly shaped” because they’re made for a specific purpose, which means that none of it is really “weird” at all. ↩
Comments